Customise the SmarTimers View
To customise the SmarTimers view review the table below and follow the required instructions:
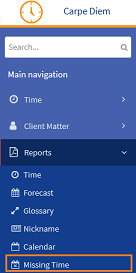
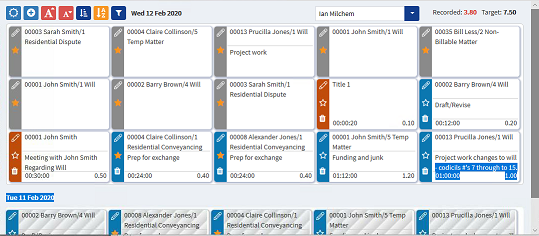
- From the Navigation menu select: Time > SmarTimers
- The SmarTimers form is then displayed. Unlike all other forms this is not displayed in the Desktop area but within its own view. Complete the steps below to customise the view.
The button functions that are displayed at the top of the form allow you to customize the view, depending on the selections made.
Review the following table for more information:
|
Button |
Function |
Description |
||||||||||
|---|---|---|---|---|---|---|---|---|---|---|---|---|
|
|
Switch To Timesheet Day View |
Clicking the switch view button will refresh the screen to display the Timesheet in you default mode. Any timers that are currently running will be displayed in this timesheet. It is not possible to manually edit the duration while a timer is running but all other client matter details can be updated. To view the SmarTimers again, select the Time > SmarTimers menu option. |
||||||||||
|
|
Where a WorklistWorklist items are defined in Tools > Worklist > Management. They allow you to setup a pre-populated time recording entry for regularly used client matters. They also allow you to define a narrative so you can simply enter time by selecting a worklist item and a duration with no other need to select details for the time entry. item is not required for a SmarTimerThe SmarTimers allow you to run a timer for time recording in real time. These timers then show in the Show more options section of your time entry.The view will allow you to start, stop, clone and merge timers together., a new one can be launched and started by clicking the Add button. This will also stop any other timer that was currently running. |
|||||||||||
|
|
Increase / Decrease SmarTimer Size |
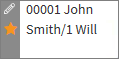
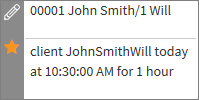
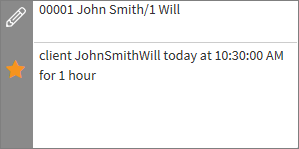
There are 4 SmarTimer tile sizes that can be applied to the view by clicking the Increase / Decrease buttons. By default the tiles are displayed in size 2. The table below shows the sizes that can be applied when clicking these buttons:
|
||||||||||
|
|
Sort By |
On clicking the Sort By button a sub-menu is displayed to allow the user to select the Sort Type and option. The options are a combination of:
Or by: client matter. |
||||||||||
|
|
Sort Ascending / Descending order |
This is a simple click of the button to switch the current sort view either Ascending or Descending. The button image will toggle according to the option selected. |
||||||||||
|
|
|