Delete Exclusion Rules
To delete a Exclusion, do the following:
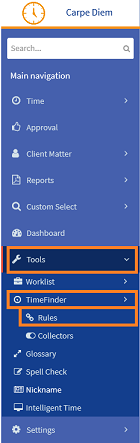
- From the Navigation menu select: Tools > TimeFinder > Rules.
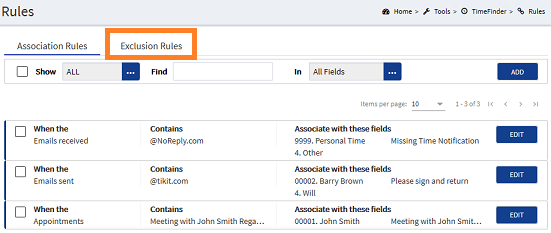
- The exclusion rule tab is then displayed by default. Click the Exclusions rule tab to display the exclusion Rules form.
- Complete the steps below to delete one or more exclusion rules:

 Check-box (All) : To delete all of the exclusion rules click the check-box to the left of the Show field. This will select all of the exclusion rules check-boxes in your list (according to the number of Items per page). Where a specific type of rule is to be deleted, they can be searched to only show those entries:
 Show : Click the ellipsis button to show the exclusion rule types: Calls, Emails, Appointment. Click on the required type to select it.
 Find : Enter the text that the rule could contain. This could be from any field in the rule e.g. the client name, narrativeThe narrative is a text field that will allow you to enter details about the time entry. This field will accept alpha, numeric ansd some special characters, as well as applying Glossary terms and the spell-check function. It may be that the firm has set this as a compulsory field. content.
The search criteria applied will automatically filter the list each time one of the above options is selected or entered, to only show those entries that match.
 Check-box single rule : To delete a single exclusion rule, click the check-box for the rule that you want to delete. This will display the DELETE SELECTED / CANCEL buttons.
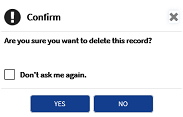
 DELETE SELECTED / CANCEL buttons: To delete the entry(s), click the DELETE SELECTED button. Where configured in
| Where a notification is not configured the deletion will happen immediately. |