

Add a Simple Timer Entry in the CalendarView
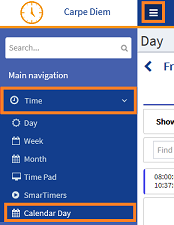
- From the Navigation menu select: Time > CalendarViewThis view will display the timesheet in a chronological order. It holds all of the same functions as the standard Day view but offers alternative methods for Merging time entries. You can also drag items to increase / decrease the duration..
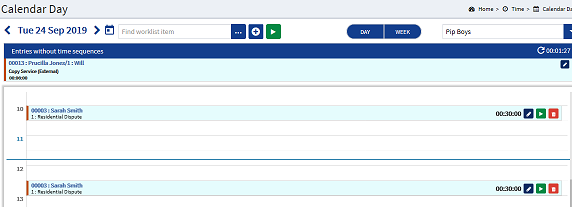
- This will open the CalendarView.
To add a simple Timer entry, do the following:
- Simply click the Run Timer button to the right of the Search WorklistWorklist items are defined in Tools > Worklist > Management. They allow you to setup a pre-populated time recording entry for regularly used client matters. They also allow you to define a narrative so you can simply enter time by selecting a worklist item and a duration with no other need to select details for the time entry. field to launch a running timer in the CalendarView at the current time.
 >>>
>>> 
- When the timer is displayed the client matter details are unknown, this is replaced with the text Title 1. However, it is possible to edit the time entry while it is running or if preferred once the timer has been stopped.
- To enter the client matter details for the entry. click the Edit button in the running timer entry.

- This will display the Edit Time popup form. The client matter can be selected by either selecting a NicknameNicknames are configured in Tools > Nicknames. They allow you to pre-populate a client matter for regularly used time recording entries. They can be fully or partially populated, though there is no narritive defined so you can do this at the point of recording time. You can also use a nickname item to create a Worklist item. entry or individually selecting the ClientThis is the person for whom you are working on behalf of and has agreed to your terms of engagement. and MatterThis is the type of engagement that the client has agreed for you to complete for them. Such as Family matters, Conveyancing, Wills, Deeds and Trusts etc. lists where a nickname is not set.
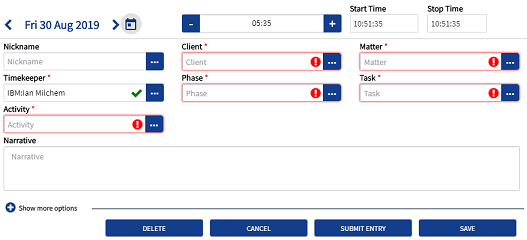
- Select each of the mandatory UDFUser Defined Fields. These are the fields that are defined by the firm and are configured in AdminWeb by the system administrator.'s by clicking the ellipsis button and selecting the entry from the pick-list as required.
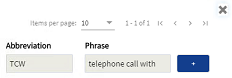
- Enter a narrativeThe narrative is a text field that will allow you to enter details about the time entry. This field will accept alpha, numeric ansd some special characters, as well as applying Glossary terms and the spell-check function. It may be that the firm has set this as a compulsory field. where this is a required field. (System administrator can advise) A glossary entry can be selected in conjunction with the manual entered text. To select a glossary entry click the Glossary button and select from the list accordingly. (see image below)
 >>>
>>>
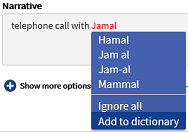
- Once the Narrative is complete, run the spell-checker and correct any unrecognised words.
 >>>
>>>
- Click the SAVE button to commit the entry, or click CANCEL to retain the blank entry with the running timer.
- The timer can be stopped and the details will be retained directly in the CalendarView by clicking the Stop button.

