

Edit a SmarTimer
To Edit a SmarTimer, do the following:
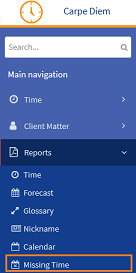
- From the Navigation menu select: Time > SmarTimers.
- The SmarTimers form is then displayed. Unlike all other forms this is not displayed in the desktop area but within its own view. Complete the steps below to edit a SmarTimerThe SmarTimers allow you to run a timer for time recording in real time. These timers then show in the Show more options section of your time entry.The view will allow you to start, stop, clone and merge timers together..
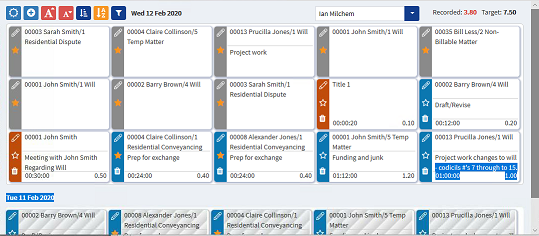
- Click on the SmarTimer tile to select it.
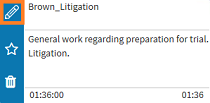
- Click the Edit button in the top left hand corner of the tile.
- The Edit time form is displayed, you can edited all fields including the Stop Start sequences within the More options section. All of the fields that show ellipsis buttons, simply click the button to display the pick-list, then click on the entry to select it. All of the other fields are standard text fields. Click in these and edit the content as required.
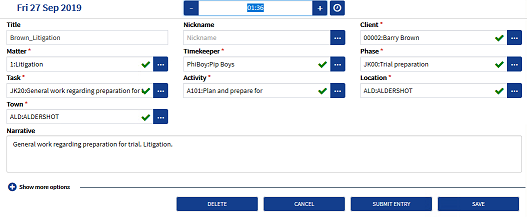
- Once the time entry has been completed the following options are available:
- SAVE : Closes the EDIT TIME form and saves the time entry changes to the database. Where validation passes then the status of the time entry will be set to READY, where there is still missing or invalid details set then this will be displayed as INCOMPLETE.
- SUBMIT ENTRY : Closes the edit time form and submits the time entry changes to the database as long as all validation has passed. Where this passes then the status will be updated to either SUBMITTED or PENDING (where approvals are enabled).
- CANCEL : Closes the edit time form without saving any changes. The status will be retained as previously set.
- DELETE : Deletes the time entry from the SmarTimer view and Timesheet list. Where enabled, a pop-up notification may be displayed to allow users to accept or reject the deletion, This is configured in the
