

Add Association Rules (Requires a TimeFinder Module License)
To add an Association rule, do the following:
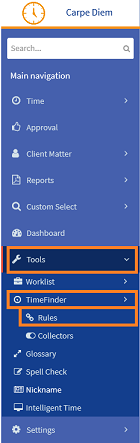
- From the Navigation menu select: Tools > TimeFinder > Rules.
- The TimeFinder Rules form is then displayed. Complete the steps below to add a new association rule:
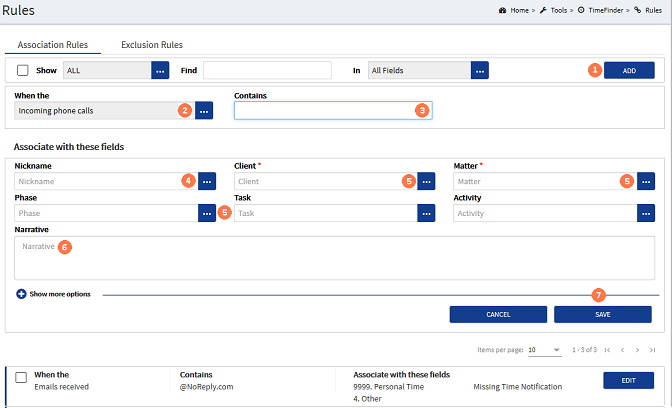
 ADD button : Click to expand the form to view the Add Association Rule form fields.
 When the* : Click the ellipsis button to display the pick-list of association types. Click on the required option to select it.
 Contains* : Enter the appropriate content for the association type. I.e. the phone number for the client, a full or partial email address, appointment title etc.
 Nickname : Where a NicknameNicknames are configured in Tools > Nicknames. They allow you to pre-populate a client matter for regularly used time recording entries. They can be fully or partially populated, though there is no narritive defined so you can do this at the point of recording time. You can also use a nickname item to create a Worklist item. has been configured and can be applied to the association rule being created, click the ellipsis button to display the pick-list, then click on the required nickname to select it to populate the form, as per the configured nickname entry.
 Client* / Matter / UDF's : Where a nickname has not been selected, click each of the required ellipsis buttons and select the required option from the pick-list to select it. A ClientThis is the person for whom you are working on behalf of and has agreed to your terms of engagement. is required at a minimum to create an association.
 Narrative : If you wish for a narrativeThe narrative is a text field that will allow you to enter details about the time entry. This field will accept alpha, numeric ansd some special characters, as well as applying Glossary terms and the spell-check function. It may be that the firm has set this as a compulsory field. to be entered for the time entry, enter this and complete the spell-check process.
 CANCEL / SAVE button : Click the SAVE button to commit the Association rule. The rule will be displayed in the Association rules list. Where you do not wish to save the rule, click the CANCEL button to close the form.
* Required fields
Now when in the DayViewThis view shows you all of the time recorded for a working day. You can add, edit, deleted, Copy, Submit and recall time entries for one day at a time. Alternatively you can access the Multi-day, Week and Month views from the DayView. and the Found Time option is on, any entries that match the rule will be captured and you can simply convert the found time into a time entry.
