

Add a New SmarTimer
- From the Navigation menu select: Time > SmarTimers.
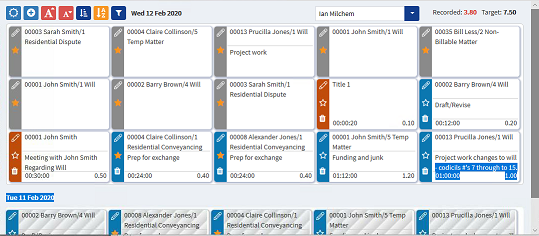
- The SmarTimers form is then displayed. Unlike all other forms this is not displayed in the desktop area but within its own view. Complete the steps below to add a new SmarTimerThe SmarTimers allow you to run a timer for time recording in real time. These timers then show in the Show more options section of your time entry.The view will allow you to start, stop, clone and merge timers together..
To Launch a New SmarTimer, do one of the following:
- Where a WorkListWorklist items are defined in Tools > Worklist > Management. They allow you to setup a pre-populated time recording entry for regularly used client matters. They also allow you to define a narrative so you can simply enter time by selecting a worklist item and a duration with no other need to select details for the time entry. entry does not exist for the required client matter, then a new undefined timer can be launched by clicking the
 Launch New Timer button. This will add a new running timer to the current date row.
 - Where a timer has already been run for a client matter (must be within the past 7 days and the SmarTimers view must display the required number of days, from the Filter by Day options) then clicking on that past date timer will start a new timer for the current date with the same client matter details populated.
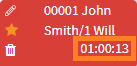
When a new timer is launched the accruing time is displayed in the bottom right hand corner of the SmarTimer tile.
The client matter details can be added when the timer is running if required. This is done by clicking on the  Edit button in the tile (top left of tile) and launching the Edit time form. Now see: Edit a SmarTimer.
