Configure the Worklist
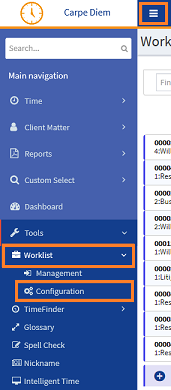
- From the Navigation menu select: Tools > WorklistWorklist items are defined in Tools > Worklist > Management. They allow you to setup a pre-populated time recording entry for regularly used client matters. They also allow you to define a narrative so you can simply enter time by selecting a worklist item and a duration with no other need to select details for the time entry. > Configuration.
- The Worklist Configuration form is then displayed. Complete the steps below to Configure the Worklist.
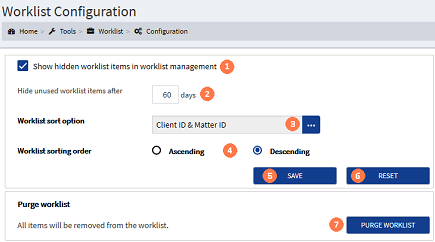
 Hide items checkbox : Select this checkbox if the hidden worklist entries should be displayed in the Worklist Management screen.
These are Worklist entries that fall outside of the Hide unused worklist items after 'X' days. They will be displayed in the Unused items section of the Worklist Management screen.
 Hide unused worklist items after : This is the number of days that active worklist items will be moved to the Unused items list. Click in the field and enter a value between 1 and 365. It is recommended to set this as either 30, 60 or 90.
 Worklist sort option : Click on the ellipsis button to display the pick-list, then click on the required sort option to select it. Wherever you view the Worklist within CDWeb it will be displayed in the sort order selected.
 Worklist sorting order : The sorted Worklist can be set to order either in Ascending or Descending order. Click the required option to select it.
 SAVE button : If you wish to commit the configuration settings, click the SAVE button. Alternatively...
 RESET button : If you have made some changes to your previously saved configuration but you have not saved them and you wish to keep those settings, Click the RESET button to remove the changes and reset the configuration options back to those last saved.
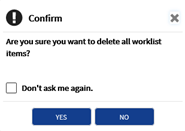
 PURGE WORKLIST button : This option will permanently delete all of your Worklist items, in both the active and unused items lists. Click the PURGE WORKLIST button to Purge the lists. Where configured