

Dashboard : Setting the Timekeeper
- From the Navigation menu, click the Dashboard option.
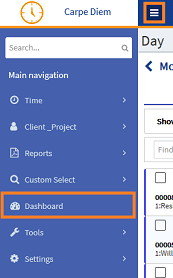
- This will open the Dashboard view.
To Select the Timekeeper(s) or Group(s), do the following:
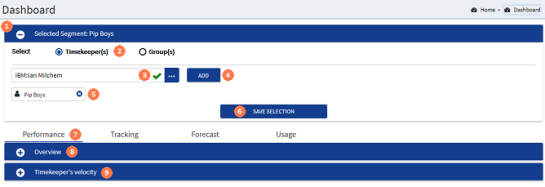
 Selected Segment : By default this section is expanded, however should you need to, click on the accordion to expand the Selected Segment and view the Select options.
 Select : This defaults to the TimekeeperThis is the person who is working on behalf of the client. They are also known as a Fee Earner.(s) option. To select the Group(s) option, click the Group(s) radio button. You can view one or more timekeeper's or group's performance throughout the Dashboard. At least one timekeeper or group must be selected.
 Pick-list : To select a timekeeper or group to view their statistics in the Dashboard, click the ellipsis button to display the pick-list of names, then click on the name in the list to select it.
 ADD button : Click the ADD button to confirm your selection. This will display the name below the pick-list.
Multiple names can be selected, complete steps 3 and 4 above until all of the required timekeepers or groups have been selected.
 Selected name : If a name has been selected in error, click the 'X' in the name to remove it from the selection.
 SAVE SELECTION button : Click the button to save your name selection. This will populate the Dashboard with the data in points 7, 8 and 9.
Now see :
